
Over the past few years, the world has seen a significant shift towards renewable energy sources, and solar energy has been at the forefront of this movement.
With the sun beaming down on us every day, it’s no wonder that many are looking to harness its power. And while there are commercial solar panels available, there’s something incredibly rewarding about creating your own. Especially when it’s a DIY project involving something as simple as aluminum foil.
Fun Fact: Did you know that the sun emits enough energy in one hour to meet the world’s energy consumption for an entire year?
The Basics
Solar energy is the radiant energy emitted by the sun. It’s a clean, renewable source of power that has been utilized by humans for centuries, albeit in different forms. Today, with the advancements in technology, we’ve found efficient ways to convert this energy into electricity.
So, how do solar panels fit into the picture? Well, these panels are equipped with cells that can capture sunlight. These cells contain semiconductors, usually made of silicon, that get excited when exposed to light. This excitement causes electrons to move, creating an electric current.
Voila! Sunlight is transformed into electricity.
Pro Tip: Always ensure your solar panels are positioned in a location with maximum sunlight exposure. It makes a world of difference in efficiency!
Materials and Tools
Before we get our hands dirty, it’s essential to gather all the necessary materials and tools. Here’s what you’ll need
| Materials | Tools |
| Aluminum foil | Scissors/Cutter |
| Cardboard/sturdy base | Soldering iron |
| Solar cells | Multimeter |
| Wires | Glue/adhesive tape |
| Clear protective sheet |
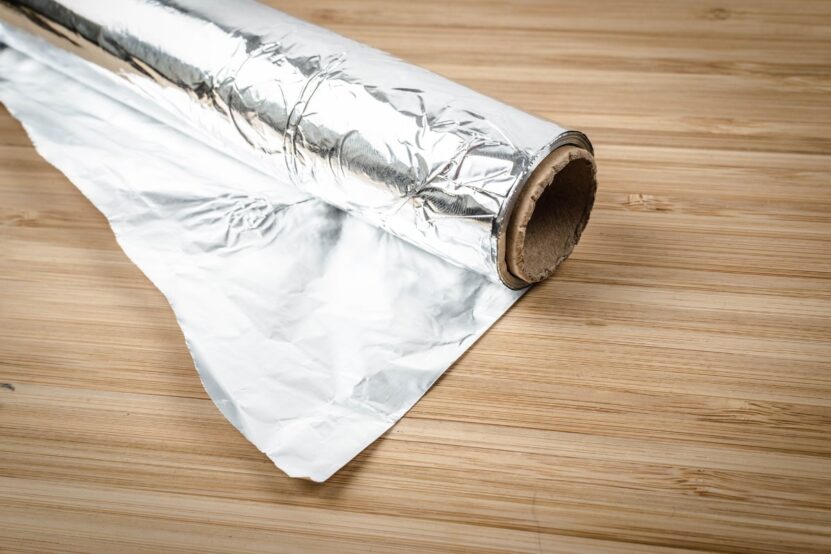
Choosing the Right Aluminum Foil

Now, not all aluminum foils are created equal. The thickness and quality of the foil can significantly impact the efficiency of your DIY solar panel.
A thicker foil will generally be more durable and less prone to tearing. However, the key is to find foil with high reflective properties. The more it can reflect sunlight onto the solar cells, the better.
Fun Fact: Aluminum foil can reflect up to 98% of light, making it an excellent choice for this project!
Designing Your Solar Panel
Designing a solar panel is like crafting a masterpiece. It’s where creativity meets functionality. The primary goal is to capture as much sunlight as possible.
- Start by determining the size of your panel. This will largely depend on the number of solar cells you have and the space available.
- Lay out your solar cells on the cardboard or base in a grid-like pattern. Remember, the more surface area exposed to the sun, the more energy you’ll harness.
Pro Tip: While designing, always consider the sun’s path. Your panel should ideally face the direction where it can get sunlight for the most extended part of the day.
Assembling the Solar Panel
Alright, time to get those hands working!
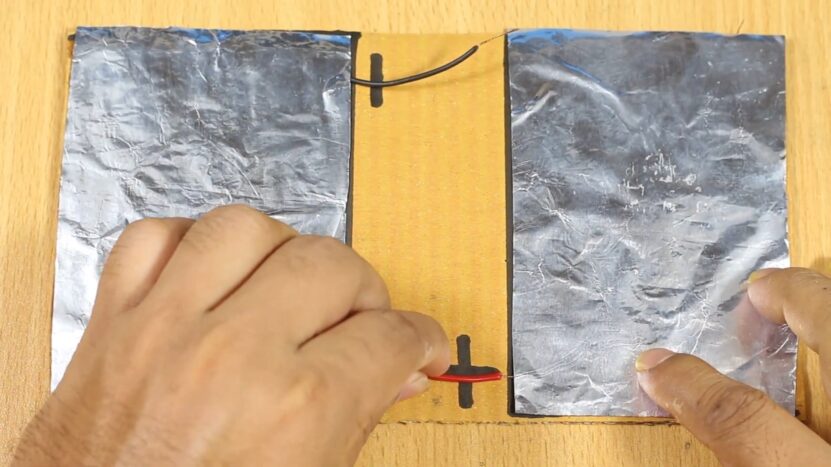
- Begin by gluing the solar cells onto the cardboard or base. Ensure they’re firmly in place.
- Next, take your aluminum foil and cut it into strips. These strips will be placed between the solar cells, acting as reflectors. Their job? To bounce off any sunlight that doesn’t directly hit the cells, maximizing the amount of light captured.
- Once everything’s in place, cover the entire assembly with a clear protective sheet. This sheet will protect the cells and foil from external elements while allowing sunlight to penetrate.
| Step | Description |
| 1 | Glue solar cells onto the base |
| 2 | Cut aluminum foil into strips |
| 3 | Place foil strips between solar cells |
| 4 | Cover with a clear protective sheet |
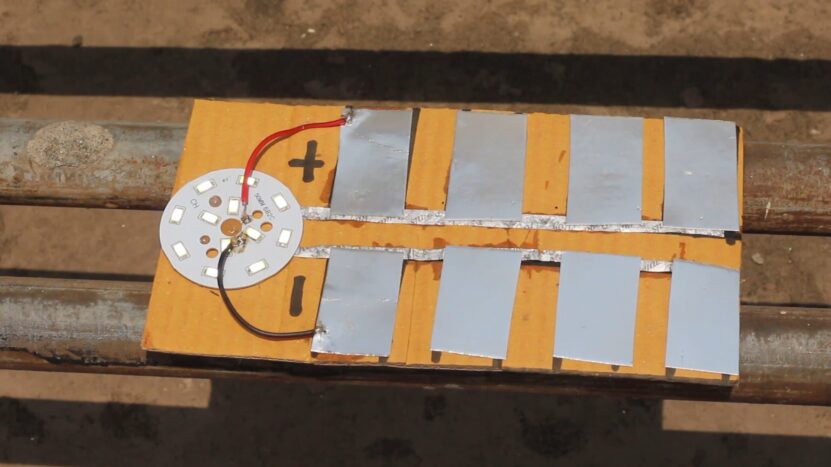
Creating Electrical Connections
Now, this part might seem a bit technical, but bear with me. Each solar cell produces a certain amount of voltage. By connecting them in series, you can increase the voltage.
On the other hand, connecting them in parallel boosts the current. Depending on your energy needs, you can choose either configuration.
Use wires to connect the cells, ensuring they’re securely soldered. A good soldering job ensures minimal energy loss and longevity.
Fun Fact: Connecting solar cells in series is like connecting batteries in a flashlight. The more you add, the brighter the light!
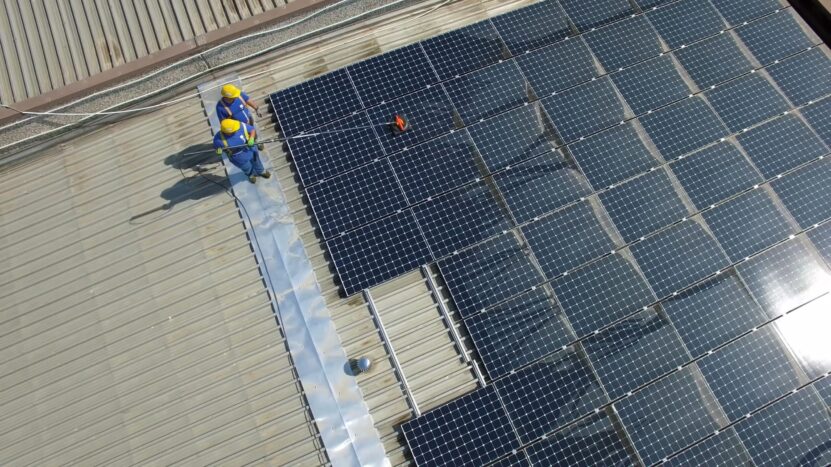
Mounting and Installation
Once your DIY solar panel is ready, it’s time to decide where you’ll place it. The roof is a popular choice for many, offering maximum exposure to sunlight. If you’re not keen on climbing ladders, a spot in your backyard or garden works just as well.
The key is to ensure the panel is tilted at an angle optimal for catching sunlight. Depending on your location, this angle might vary. Secure the panel using brackets or stands, and you’re all set!
Testing and Monitoring
Once your solar panel is up and shining, it’s essential to ensure it’s working efficiently. A multimeter becomes your best friend here.
By measuring the voltage and current, you can gauge the panel’s performance. If the numbers are lower than expected, it might be due to obstructions or dirt on the panel.
Regular monitoring can help you identify any dips in performance and address them promptly.
Pro Tip: Keep a monthly log of your solar panel’s output. This will help you track its efficiency over time and identify any patterns or issues.
Maintenance and Care
Solar panels are pretty low-maintenance. Like all things exposed to the elements, they do require some care.
Periodic cleaning is crucial. Dirt, debris, and even bird droppings can accumulate on the panel surface, reducing its efficiency. A simple spray down with lukewarm water usually does the trick.
For heavier deposits, a non-abrasive, microfiber cloth can be used. Remember, avoid cleaning agents or soaps as they can leave streaks and potentially damage the panels.
Fun Fact: Solar panels have a lifespan of 25 to 30 years with regular maintenance. So, a little care goes a long way!
Harnessing Solar Power
Now that you’ve got your DIY solar panel up and running, what can you do with it? The possibilities are endless!
From charging devices to powering small appliances, your homemade solar panel can be quite handy. Over time, you’ll notice energy savings, and more importantly, you’ll be contributing to a greener planet.
Safety Considerations
Safety first! Working with electrical components always comes with its set of precautions.
- Always turn off the solar power system before cleaning or maintenance.
- When soldering, ensure you’re in a well-ventilated area and wear protective gear.
- If your solar panels are roof-mounted, use a safety harness to prevent any accidents.
- Lastly, handle materials responsibly. Some components, like solar cells, may contain trace amounts of toxic materials. Ensure they’re disposed of at appropriate facilities.
FAQ
How long have solar panels been in use?
Solar energy has been harnessed for centuries, but modern solar panels, as we know them, began development in the mid-20th century.
Can solar panels work during cloudy days?
Yes, solar panels can still generate electricity on cloudy days, but their efficiency is reduced compared to sunny conditions.
How do solar panels impact property value?
Installing solar panels can increase property value as they offer potential energy savings for future homeowners.
Are there any tax incentives for installing solar panels?
Many countries and states offer tax incentives or rebates for installing solar panels. It’s best to check local regulations and benefits.
Conclusion
Harnessing the sun’s power using aluminum foil might have seemed like a far-fetched idea at first. But as we’ve journeyed through this process together, it’s evident that with a bit of creativity and effort, sustainable energy solutions are within our grasp.
So, the next time you bask in the sun’s warmth, remember that this mighty star is not just a source of light and heat but also a beacon of hope for a sustainable future. Keep exploring, innovating, and shining bright!